Your cart is empty
Explore our collectionsCoupons
Order Summary
Total₹ 0
Healthy soil is like a blessing for good plant growth, especially if you want to skip harsh chemicals. Vermicompost fits right in. You can make vermicompost at home in India using simple kitchen scraps and get high-quality organic compost for healthier plants, vegetables, and flowers.
Now, if you’re curious about how to make vermicompost at home in India, we are here to guide you step by step. This detailed guide will help you understand the complete vermicomposting method using kitchen waste.
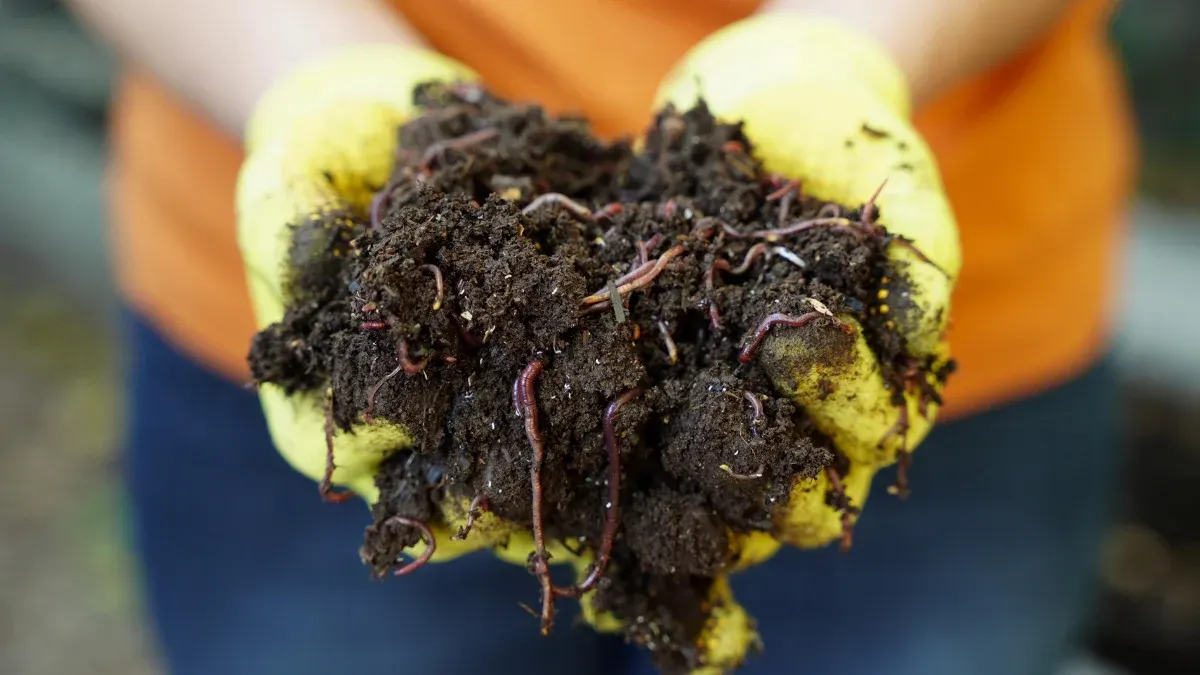
Vermicomposting at home in India is a natural process of converting kitchen waste into nutrient-rich compost using worms like red wigglers and Indian blue worms. It usually takes 30 to 45 days and requires a ventilated container, organic waste, and proper moisture control.
You turn waste into organic compost that helps your garden produce healthy, organic veggies. Worms handle organic scraps. They churn out nutrient-packed castings. These castings improve soil structure and support healthy plant growth. Peels from vegetables in your kitchen bin transform into gentle yet powerful food for plants.
One of the top reasons is that vermicompost is packed with helpful microbes and helps plants absorb nutrients easily.
Vermicompost benefits for plants:
Vermicompost acts like a steady boost for soil. Your plants perk up quickly.
You want composting that works smoothly and quickly. Pick the right worms because not every earthworm suits the process.
Best worms for vermicomposting:
These worms thrive in organic waste bins, consume kitchen waste quickly, and multiply fast in Indian conditions.
Pick a breathable container like a clay pot or ventilated bin. Add small holes for airflow. Worms and microbes need oxygen. Moisten it lightly.
Use dry leaves, twigs, or shredded paper. Spread 4–6 inches evenly. This helps maintain moisture and protects worms.
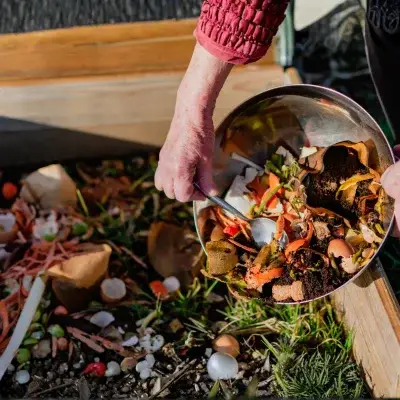
Add vegetable peels, fruit scraps, and tea leaves. Chop into small pieces for faster decomposition.
Place worms on top. They will move down naturally and start consuming the waste.
Alternate between green waste and brown material. Always keep brown material on top.
Add a little curd or buttermilk to boost microbial activity and speed up composting.
Keep the container in shade. Avoid direct sunlight and heavy rain. Maintain moisture like a squeezed sponge.
Vermicomposting usually takes 30–45 days in warm Indian climates.
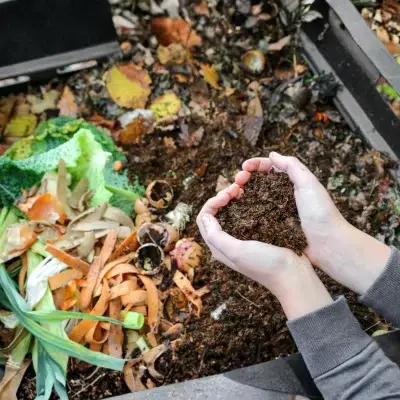
Finished compost looks dark, crumbly, and smells like fresh soil.
This is where kitchen waste composting at home begins.
Good materials include:
Avoid:
Both plastic bins and clay pots work well, but clay pots are better for Indian climates as they regulate moisture naturally.
Before starting:
Under warm conditions, compost usually forms within 30 to 45 days. Cooler weather may stretch the process to around two months.
When ready, the compost will look:
That is the signal that the compost is ready to use.
Kitchen waste composting at home becomes a powerful soil booster.
A small amount goes a long way.
Use it in several ways:
Plants respond quickly. Leaves look greener. Flowers appear stronger.
So a small kitchen scrap becomes something valuable.
Vermicomposting at home in India offers a simple and effective way to achieve healthy garden goals. Grab a small container and a few compost worms. Add everyday kitchen scraps. This kitchen waste composting process turns waste into nutrient-rich vermicompost. Plants grow stronger, leaves turn greener, and flowers bloom brighter.
If you want ready-to-use organic compost, you can also explore quality options to buy vermicompost online in India from Upjau, the best online plant nursery in India . This vermicompost helps enrich the soil naturally and supports strong, healthy plant growth.
Start improving your soil today with vermicomposting at home. Feed your garden naturally and watch every plant grow with strength and vitality.
Avoid adding oily foods, spicy waste, plastic, and big hard seeds in vermicomposting at home. These materials slow down the composting process and disturb the balance of worms and microbes.
Vermicompost can be mixed into garden soil or added to pots as an organic fertilizer. Even a small amount improves soil fertility, boosts plant growth, and supports healthier roots.
Yes, vermicomposting at home in India can easily be done in small spaces like balconies or corners using a compact compost bin. It requires minimal space and gives excellent results.